
Code: TC-611
Why an Organized First Aid Box Matters
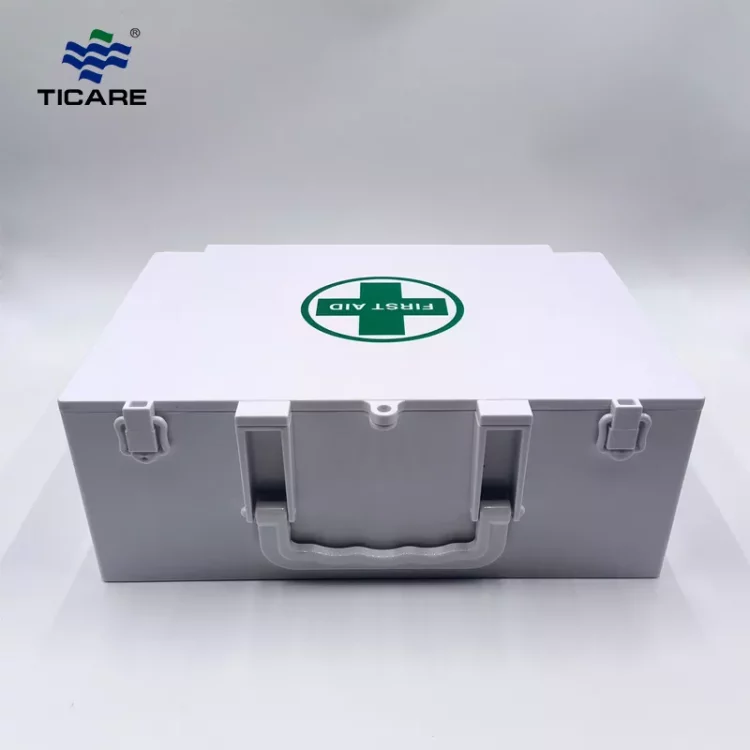
In an emergency, every second counts. A well-organized first aid box reduces response time, prevents contamination and helps staff treat injuries confidently. Use a durable, visible container — for example, our Empty First Aid Box with Green Cross — with compartments to make items easy to find.
Step 1 — Choose the Right Container
Pick a box that is durable, easy to clean and large enough for your needs. ABS plastic boxes are lightweight, rust-proof and ideal for most workplaces.
Step 2 — Categorize Your Supplies
- Wound care: Adhesive bandages, gauze pads, sterile dressings
- Cleaning & antiseptics: Alcohol wipes, antiseptic solution
- Tools: Scissors, tweezers, safety pins
- Protection: Disposable gloves, masks
- Medication: Pain relievers, antihistamines (follow local policy)
Step 3 — Label Everything
Use waterproof labels and clear, large text. Label at the compartment level (e.g., “Bandages”, “Antiseptics”) and include an expiry-check date where possible.
Step 4 — Set a Restock & Inspection Schedule
We recommend a monthly visual check in most workplaces and weekly checks in higher-risk environments. See our related post: How Often Should You Restock a First Aid Kit?.
Common Mistakes to Avoid
- Leaving expired medications in the box
- Mixing contaminated supplies with sterile items
- Not training staff on where the box is kept
Downloadable Checklist
Include a downloadable checklist in your CMS. Place it inside the box or on the door for quick use.